The Ultimate Guide to Hardwood Flooring Installation: What to Expect & How to Prepare
Hardwood flooring is one of the best investments you can make in your home. It adds warmth, beauty, and value while offering durability that lasts for generations. If you’re considering installing hardwood floors, understanding the process can help you feel confident and prepared. In this guide, we’ll walk you through what to expect before, during, and after your hardwood flooring installation.
Why Choose Hardwood Flooring?
Hardwood floors are a popular choice for homeowners and businesses alike due to their:
✅ Timeless Aesthetic – Hardwood flooring complements any interior style, from classic to contemporary.
✅ Durability – With proper care, hardwood floors can last for decades.
✅ Easy Maintenance – Sweeping and occasional refinishing keep your floors looking pristine.
✅ Increased Home Value – Hardwood flooring is a major selling point for potential buyers.
Preparing for Hardwood Floor Installation
Before installation begins, a few steps ensure a smooth process and a long-lasting floor:
1. Choose Your Wood Type
Different wood species offer varying levels of hardness, color, and grain patterns. Popular choices include:
- Oak – Classic and durable, with a prominent grain pattern.
- Maple – A lighter, more uniform appearance.
- Hickory – Tough and rustic, perfect for high-traffic areas.
- Walnut – Rich, dark tones with a luxurious look.
2. Acclimate the Wood
Hardwood is a natural material that expands and contracts with temperature and humidity changes. To prevent warping, the wood should sit in your home for at least 3-5 days before installation to adjust to the environment.
3. Clear the Space
Remove furniture, rugs, and any obstacles from the installation area. If needed, hire professionals to move heavy furniture safely.
4. Inspect & Prepare the Subfloor
A smooth, level subfloor is crucial for proper installation. Depending on your home, this may involve:
- Removing old flooring (carpet, tile, or existing hardwood).
- Ensuring a clean and dry surface to prevent moisture issues.
- Installing an underlayment for added insulation and soundproofing.
The Installation Process
Once everything is prepped, the actual installation begins!
Step 1: Laying the First Rows
The first planks are placed carefully to ensure a straight and level installation. Proper alignment is key to avoiding gaps or uneven edges.
Step 2: Securing the Flooring
Depending on the installation method, hardwood floors are either:
- Nailed Down – Traditional and secure, ideal for solid hardwood.
- Glued Down – Common for engineered wood or concrete subfloors.
- Floating – Click-and-lock planks that don’t require nails or glue.
Step 3: Staggering the Planks
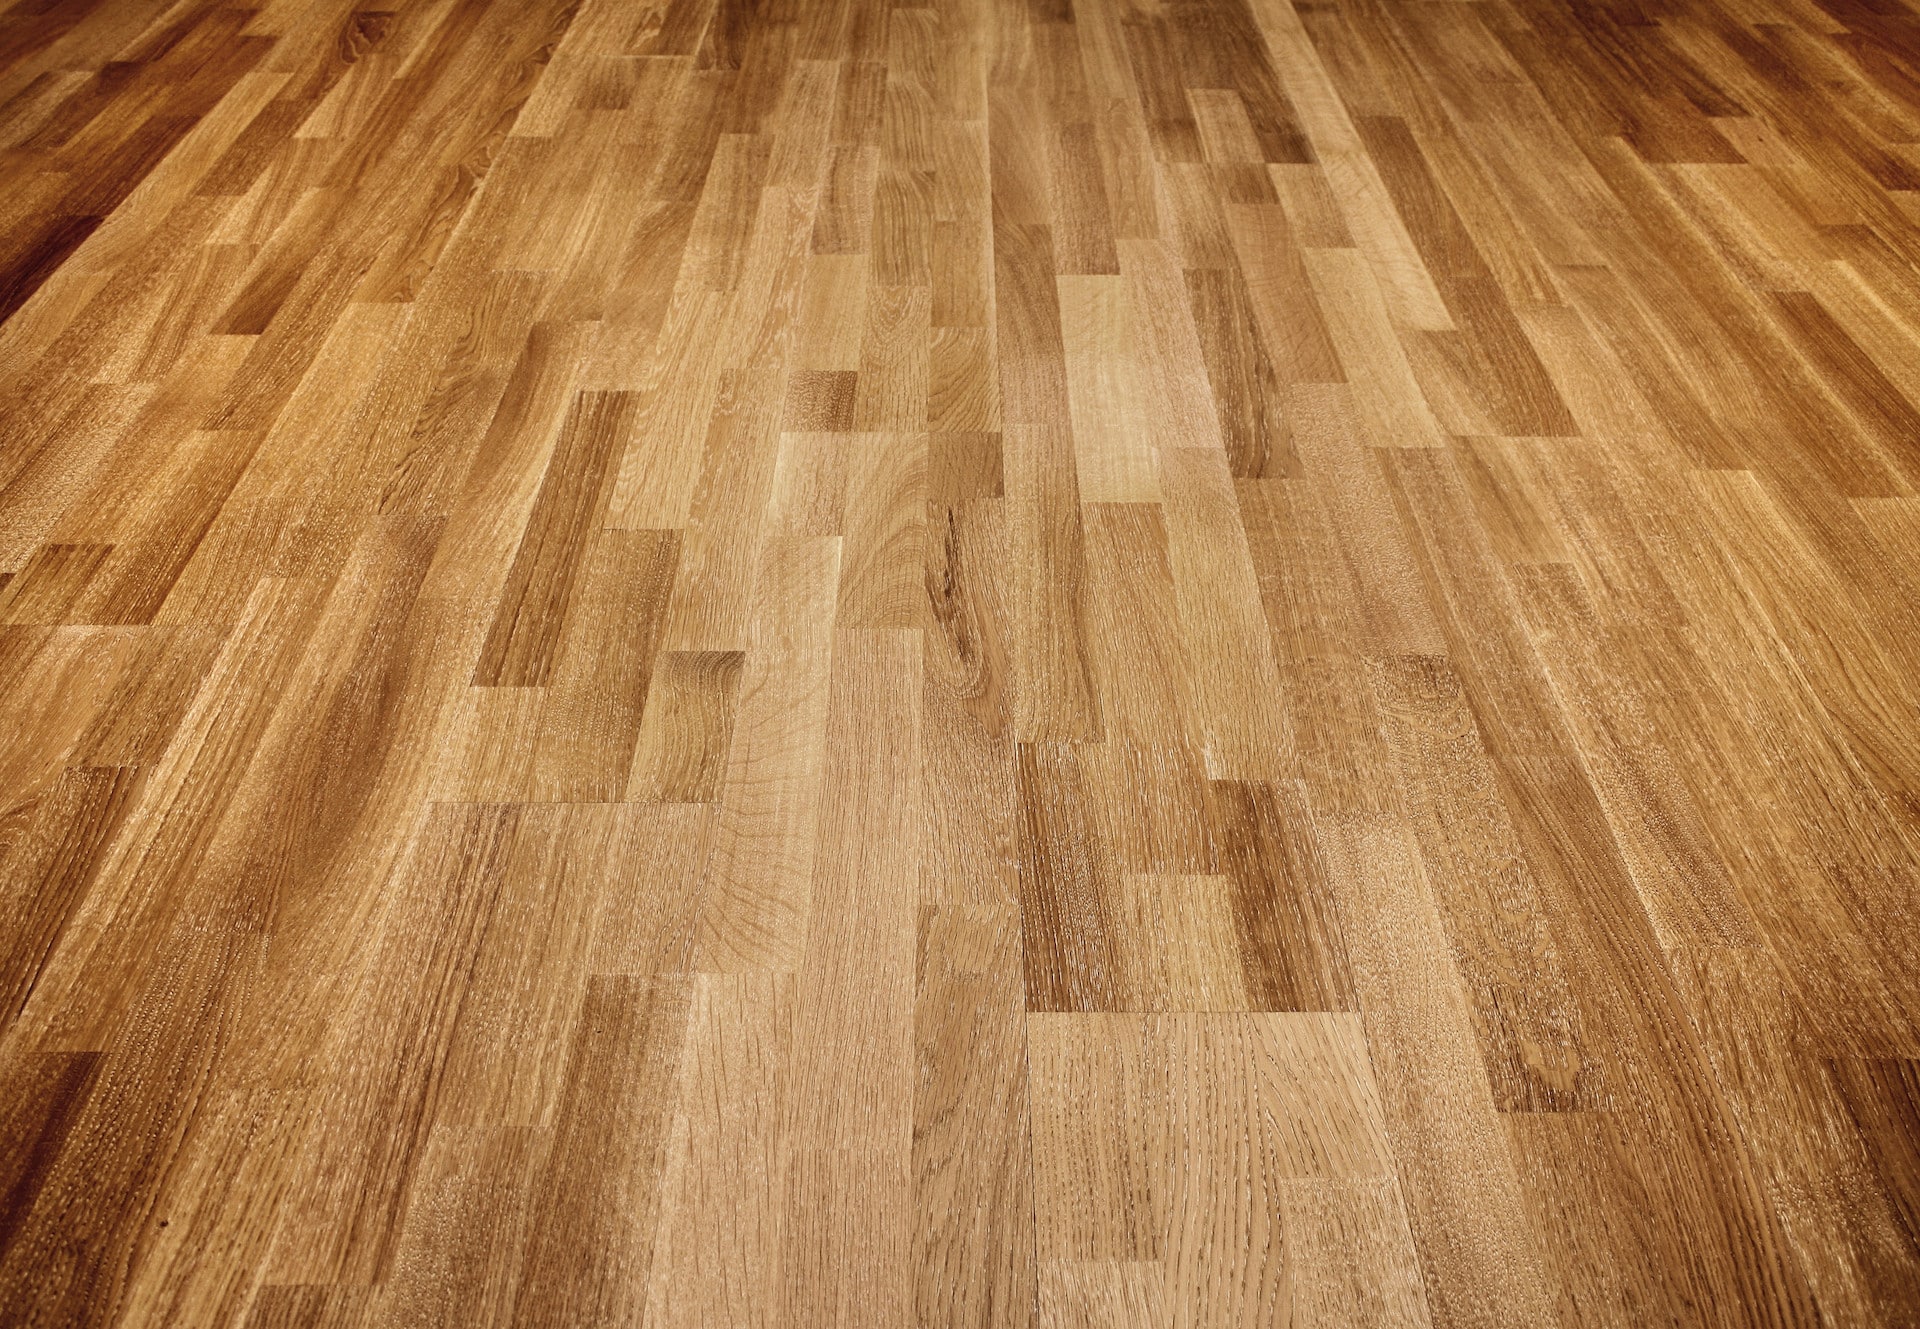
To create a natural, seamless look, planks are staggered in a random pattern, ensuring no two boards align too closely.
Step 4: Cutting & Fitting
Each plank is precisely measured and cut to fit around walls, doorways, and other obstacles.
Step 5: Final Touches
Once all the planks are laid, finishing touches include:
✔ Trimming and molding installation to cover gaps at the edges.
✔ Sanding and staining (if unfinished hardwood is used).
✔ Sealing the floor for added durability and protection.
Post-Installation Care & Maintenance
After installation, follow these tips to keep your new hardwood floors in top condition:
- Avoid walking on the floor for at least 24 hours to let adhesives set properly.
- Use felt pads on furniture legs to prevent scratches.
- Sweep or vacuum regularly to remove dirt and debris.
- Clean with a hardwood-safe cleaner – avoid excess water or harsh chemicals.
- Control indoor humidity levels to prevent wood from expanding or contracting.
Ready to Upgrade Your Floors?
At Premier Flooring, we specialize in expert hardwood flooring installation with a focus on quality craftsmanship and customer satisfaction. Whether you’re upgrading a single room or your entire home, we’re here to help every step of the way.

